This article explains how to open, edit, and re‑upload a voucher printing design in eCount (both Offline and Online).
📋 Overview
The voucher print file controls the layout of printed vouchers. You can modify it using Telerik Report Designer.
🔧 Steps / How-to
- Install Telerik Report Designer 2017: go to https://www.ecount.in/support, click “Report Designer 2017”, download the zip, unzip and run the installer.
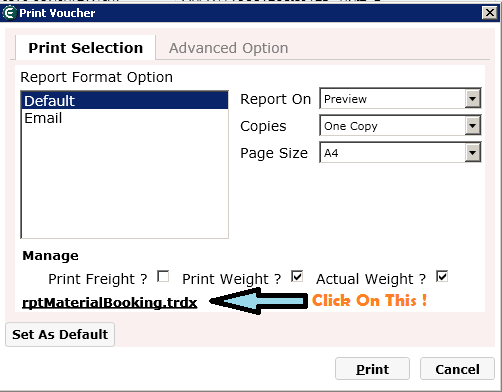
- Open Report Designer, open the voucher print file you want to change, click the Print button. In the pop‑up, click the link at the bottom to download the print file.
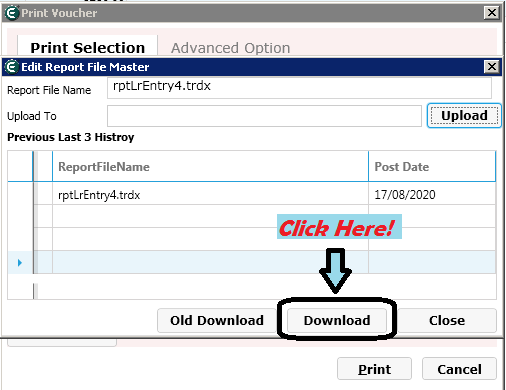
- In the download window, click Download. The file is saved locally.
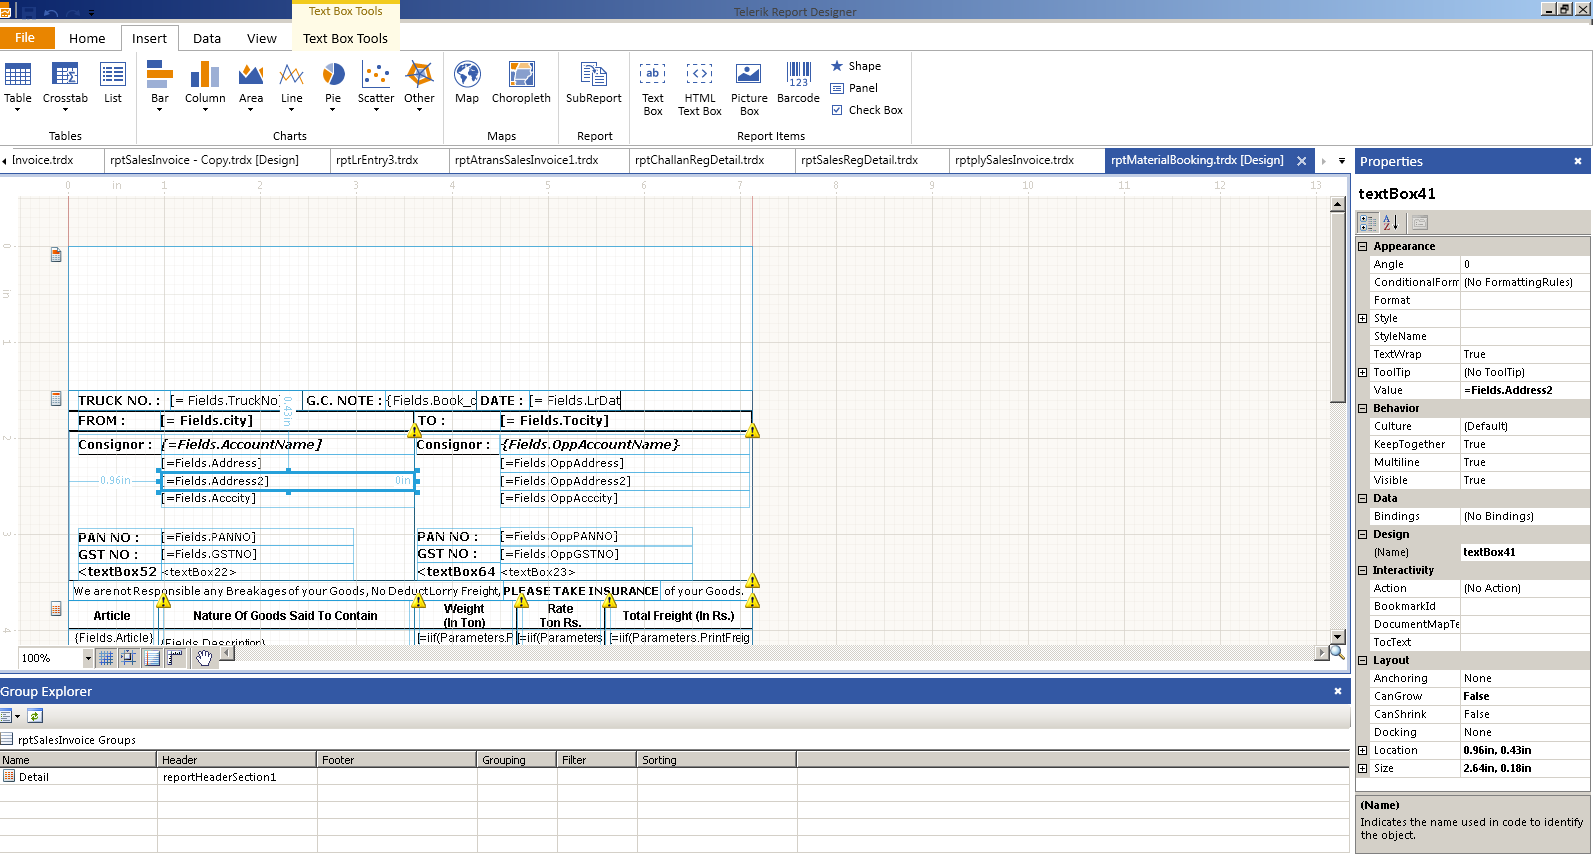
- Open the downloaded .trdx file in Report Designer. Edit the layout – add text boxes, change border style/width, etc., using the property pane on the right.
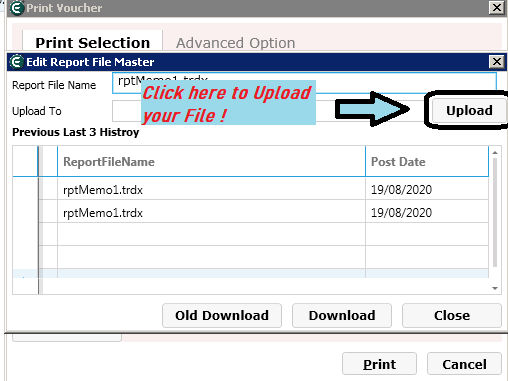
- Save the file and upload it back to eCount. From the same download dialog you can click the Upload button, or use the upload screen.
💡 Tips
- Copy‑paste existing text boxes to quickly create new ones.
- Border style and width are adjusted from the right‑hand property panel.
- Refresh the voucher screen after uploading to see the new layout.
✅ Summary
- Install Telerik Report Designer 2017.
- Download the voucher print file from eCount.
- Edit the layout in Report Designer.
- Save and upload the modified file back to eCount.