How to install “eCount Chrome Extension” and “eDriver”.
First of all we will see how to do “ecount Chrome Extension”.
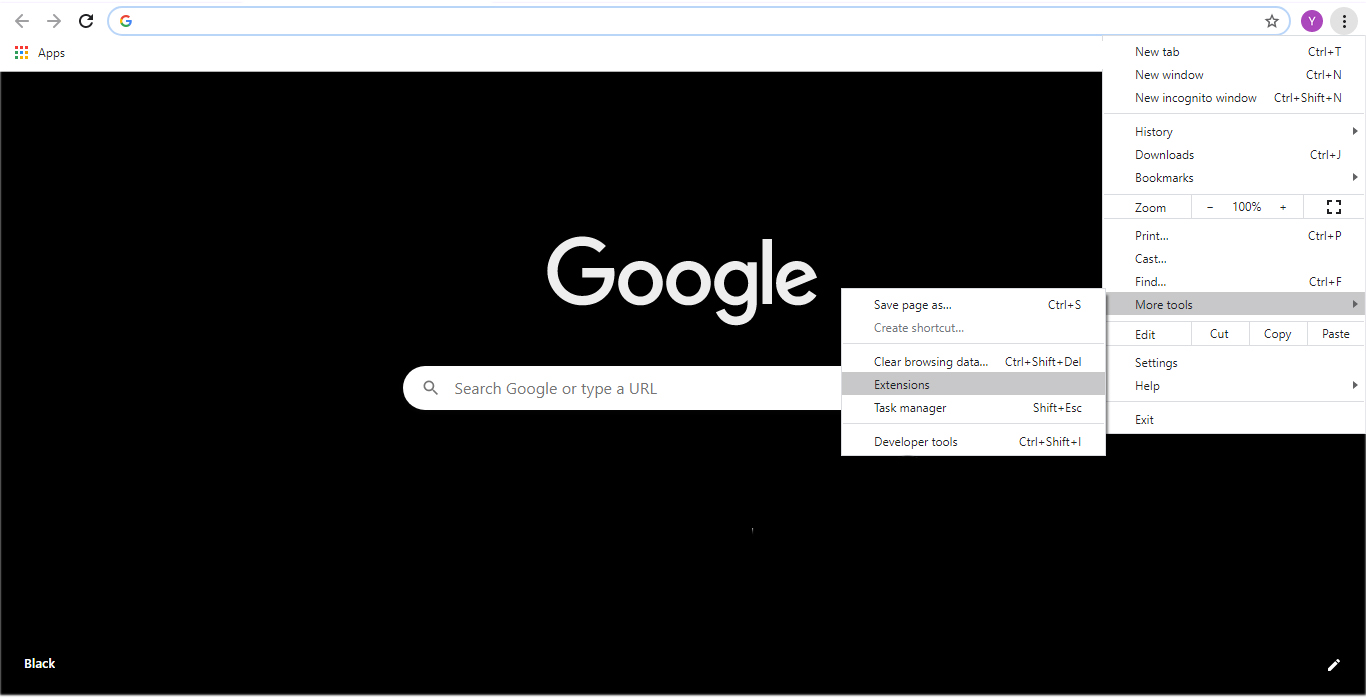
Step 1 :
-
Open Chrome and click on the right hand side of the window, in that go to the option “More Tools” after that click on Extensions in another pop-up window.
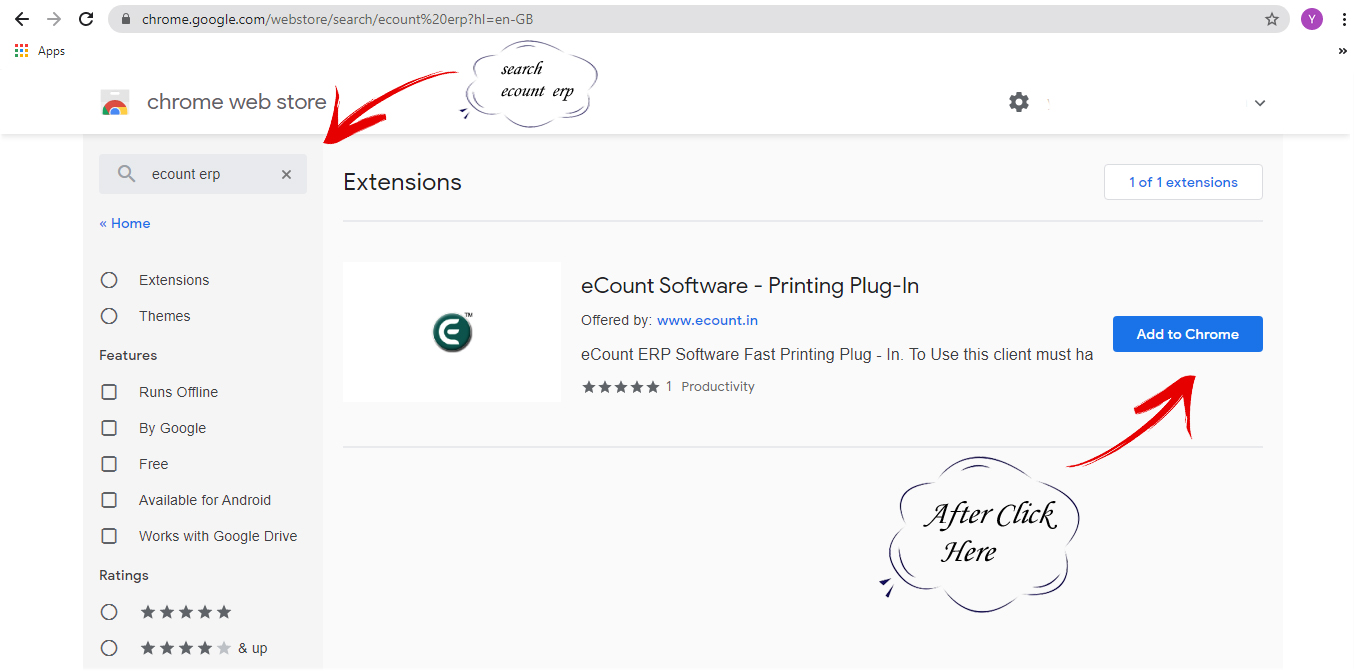
Step 2:
- Now, in the very next window you can see the search engine in that you have to search for “ecount erp”
- As shown in the image below you can see the option “Add to Chrome” Click on it.
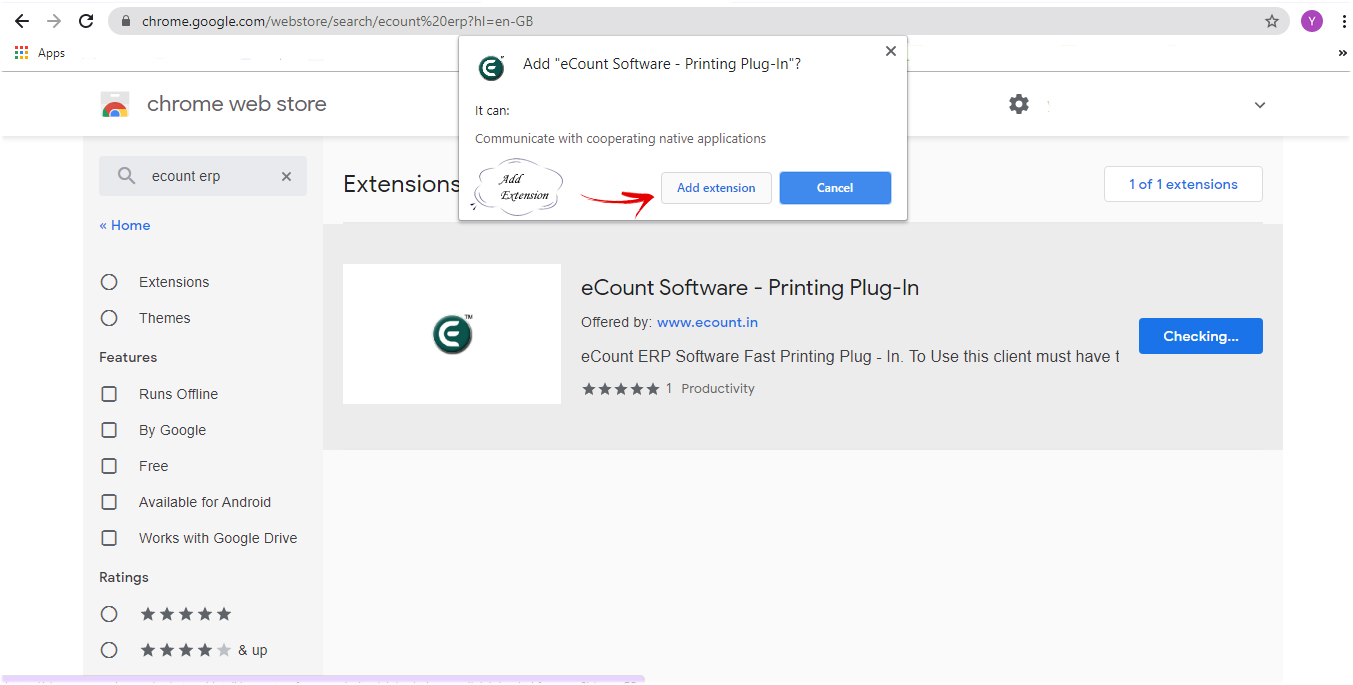
Step 3:
- Now you can see one popup window on the top of the page
- Click on “Add Extension”
Hope u are done with Chrome Extension!!! Now we will do the process to install the eDriver in your system
Step 1:
-
For eDriver installtion, click on the button given below and download the file named “eDriver” and extract all the files.
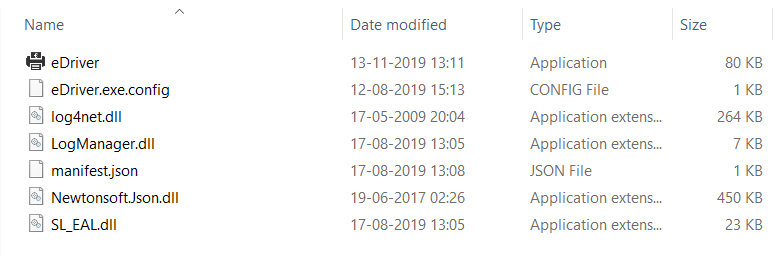
Step 2:
- Open the extracted files, In that you can see the file as it is shown in the image below.
- Now you have to open the file named, eDriver.exe
Step 3:
-
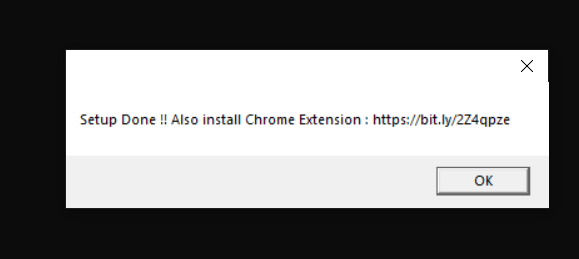
Once you open the exe file, It will automatically start installing and you will get a successfully installation message in your command prompt after the installation process is completed.
Step 4:
-
Now Install the “FoxitReader”.

Step 5:
-
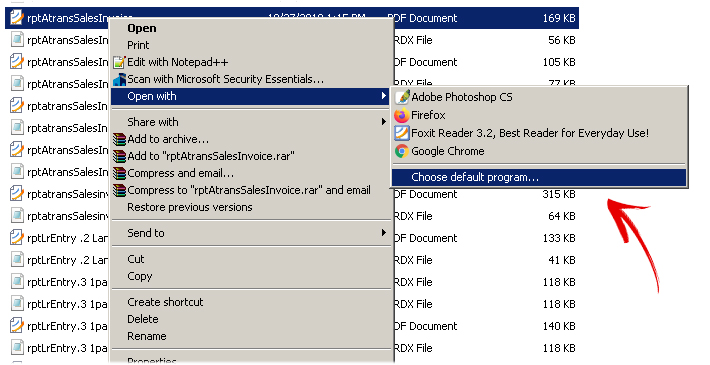
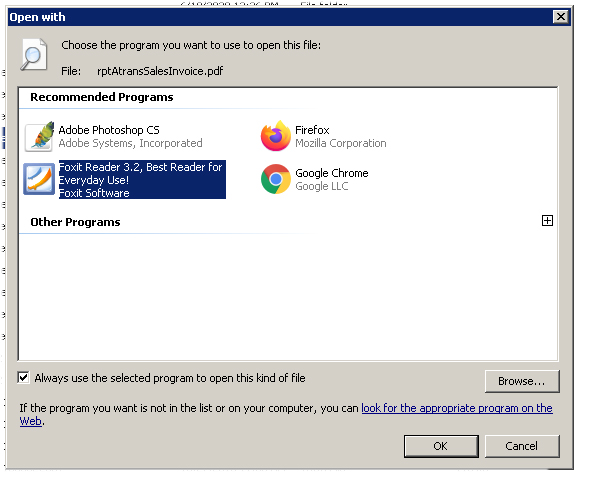
After that, Set the FoxitReader as a Default program to read your files.
Step 6:
-
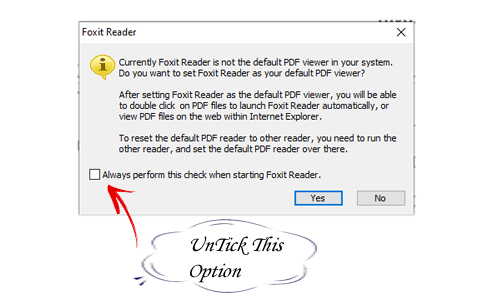
Finally, the last step is to untick the option as shown in the image below and Click on YES!
- Now you can see one popup window on the top of the page
- Click on “Add Extension”
Hope u are done with Chrome Extension!!! Now we will do the process to install the eDriver in your system
Step 1:
-
For eDriver installtion, click on the button given below and download the file named “eDriver” and extract all the files.
Step 2:
- Open the extracted files, In that you can see the file as it is shown in the image below.
- Now you have to open the file named, eDriver.exe
Step 3:
-
Once you open the exe file, It will automatically start installing and you will get a successfully installation message in your command prompt after the installation process is completed.
Step 4:
-
Now Install the “FoxitReader”.
Step 5:
-
After that, Set the FoxitReader as a Default program to read your files.
Step 6:
-
Finally, the last step is to untick the option as shown in the image below and Click on YES!
For eDriver installtion, click on the button given below and download the file named “eDriver” and extract all the files.
Once you open the exe file, It will automatically start installing and you will get a successfully installation message in your command prompt after the installation process is completed.
Now Install the “FoxitReader”.
After that, Set the FoxitReader as a Default program to read your files.
Finally, the last step is to untick the option as shown in the image below and Click on YES!
Now you are done with both the process!