Here are some steps to install the SQL SERVER on your windows system.
First we have to download the 2 Files of SQL SERVER. To download the SQL SERVER click on the link given below!
-
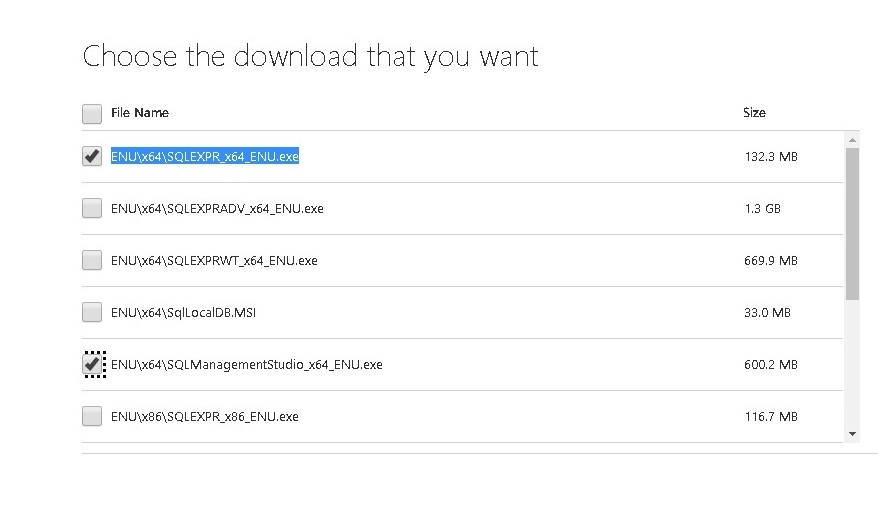
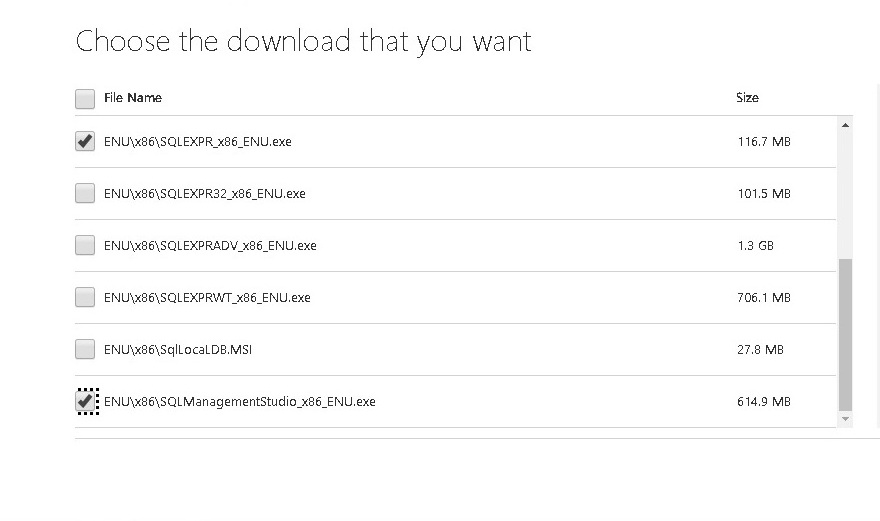
For 64-bit Click here below! & Download those 2 files which are ticked in images below!
-
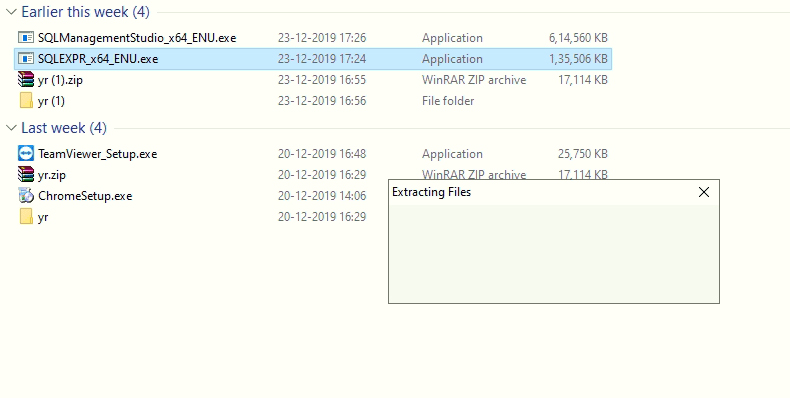
Now Run The First File as shown in Image!
Let’s Start
Step 1:
-
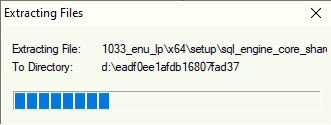
We will open the file ‘SQLEXPR_x64_ENU.exe’ Now it will extract all the files and it will took around 1-2minutes.
Step 2:
-
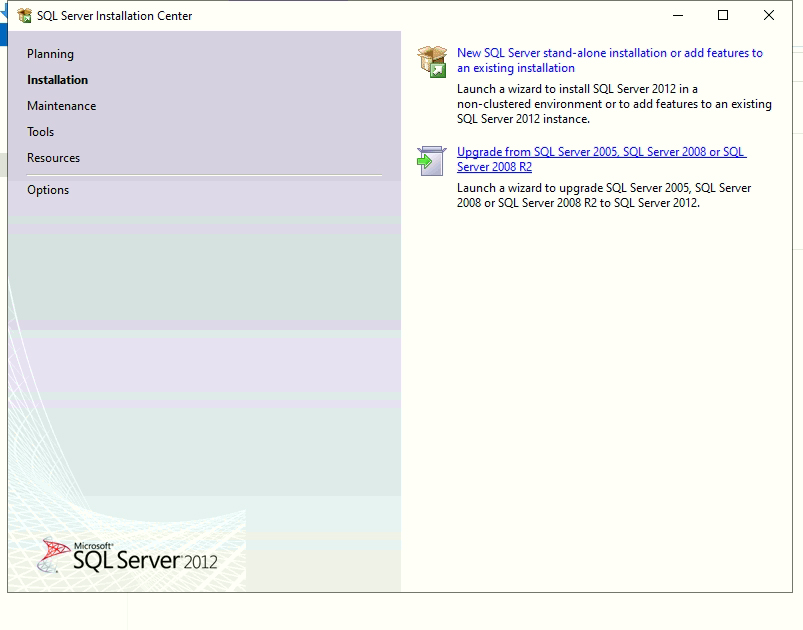
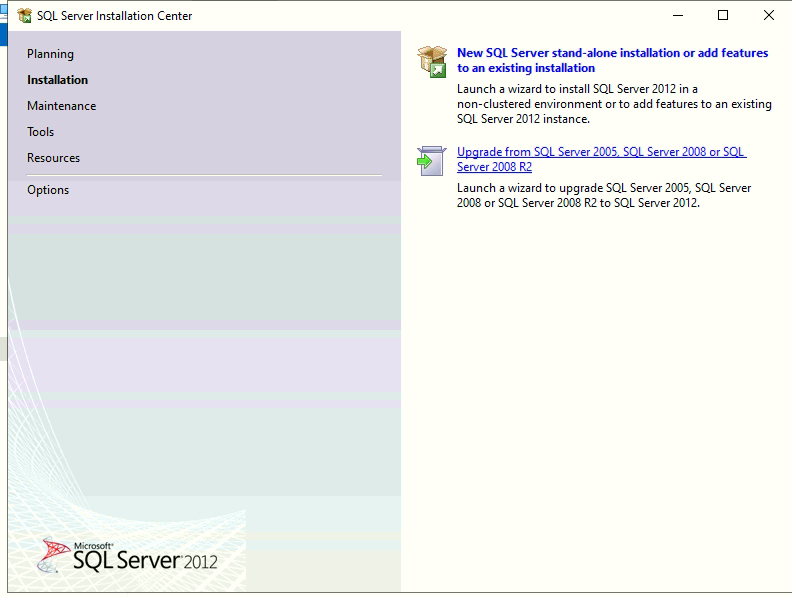
After extracting it will open a pop up window,‘SQL Server Installation Center’.
Now you have to select the first option ‘New SQl Server stand-alone installation or add features to an existing installation’.
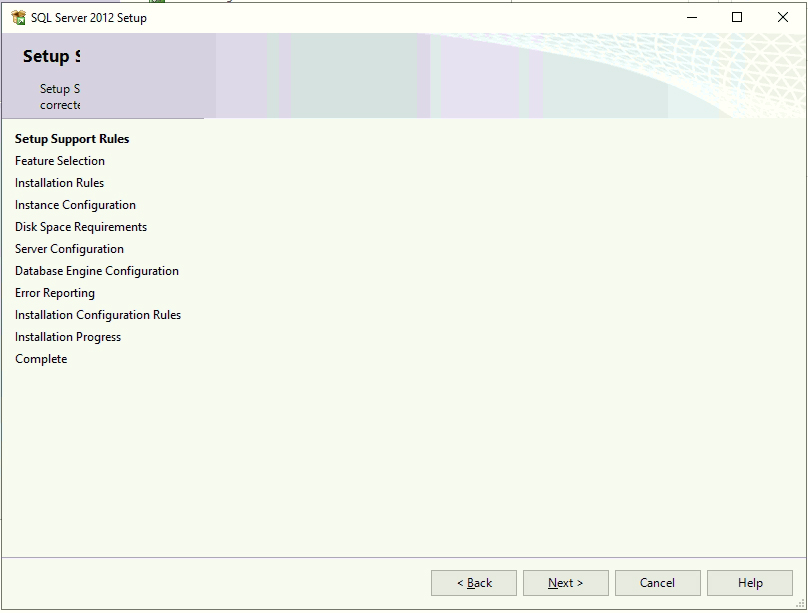
After that it will start a setup process.
Step 3:
-
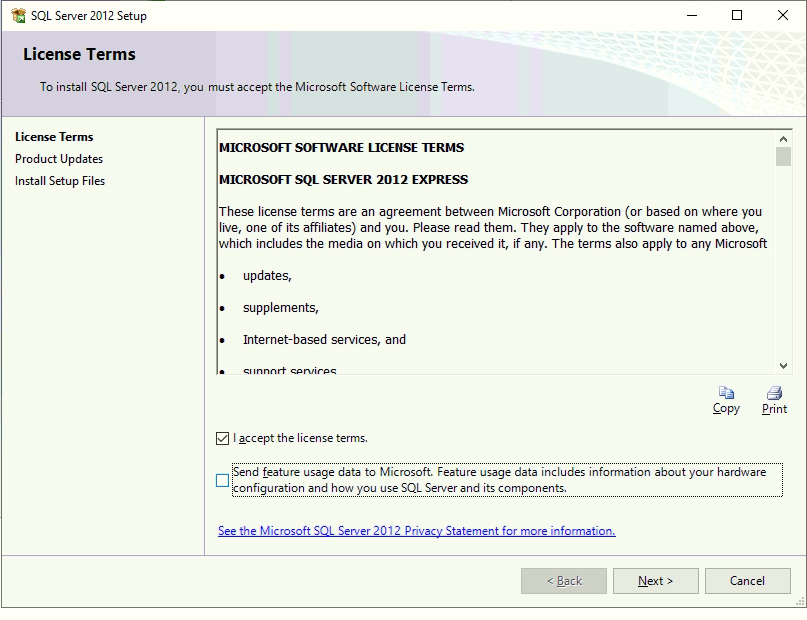
Accept the license terms and Click on ‘next’.
Step 4:
-
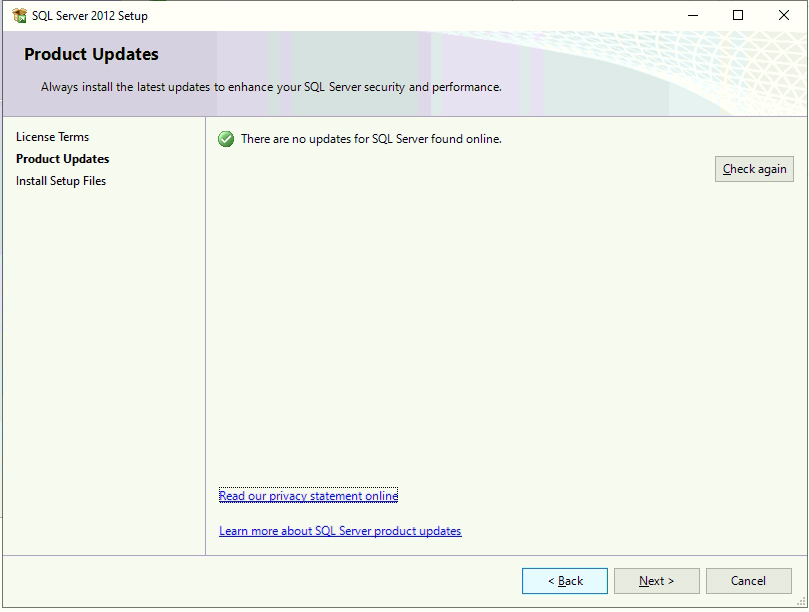
Now it will start Auto Update.
Step 5:
-
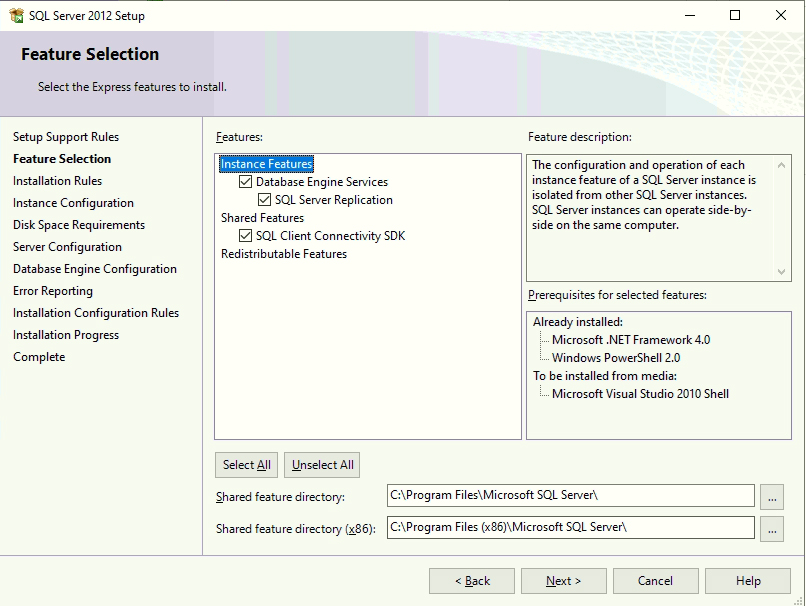
Now Click on the ‘Feature Selection’.And Click on the ‘select all’ option and then click on next.
Step 6:
-
Now the next step will be ‘Instance Configuration’.Select the option ‘Named Intance’. And in the “Instance root directory” you have to select the folder where you want to store all the data of SQL and click on next.
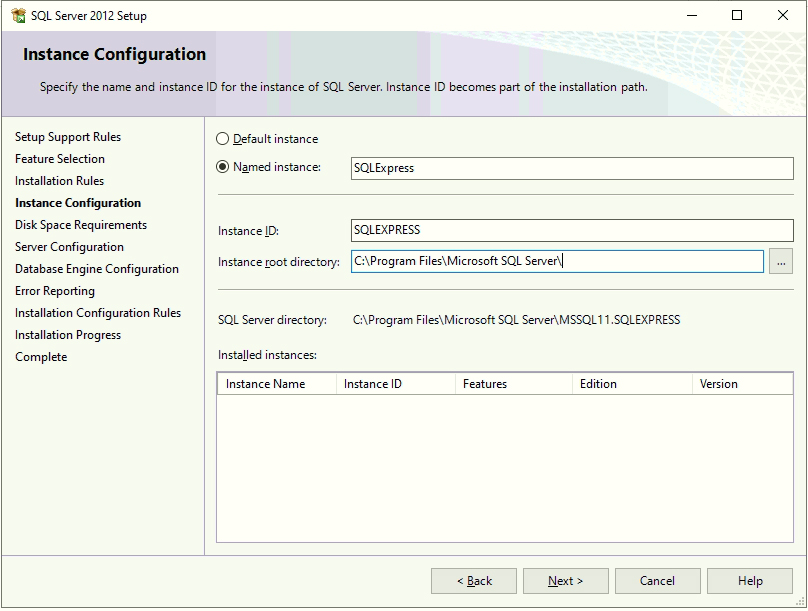
Suggestion : If it is possible don’t select C: Drive, there is a possibility to lose the data.
-
So here i am using E: Drive to store all the data.

Step 7:
-
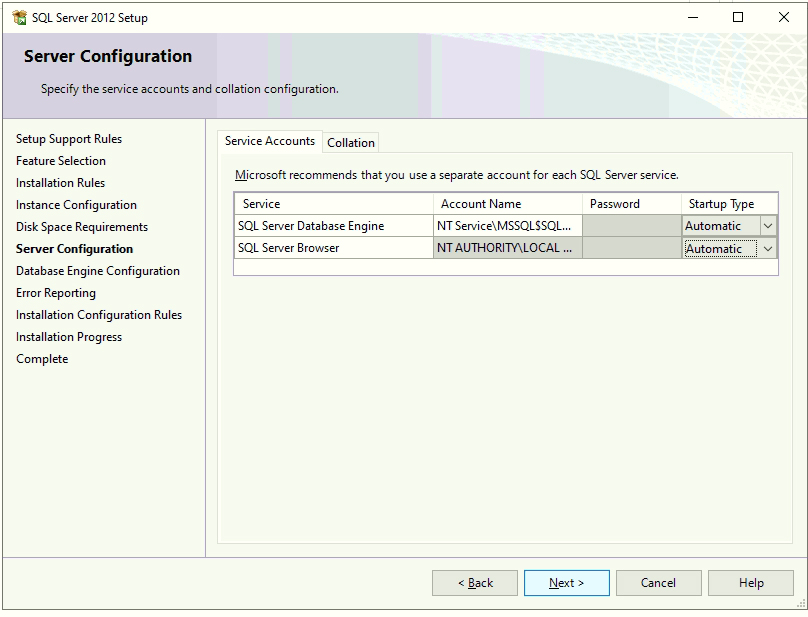
Go to the next step ‘Server Configuration’.Here you have to change the ‘Startup type’ of ‘SQL Server Database Engine’ and ‘SQL Server Browser’ to ‘Automatic’ and click on Next.
Step 8:
-
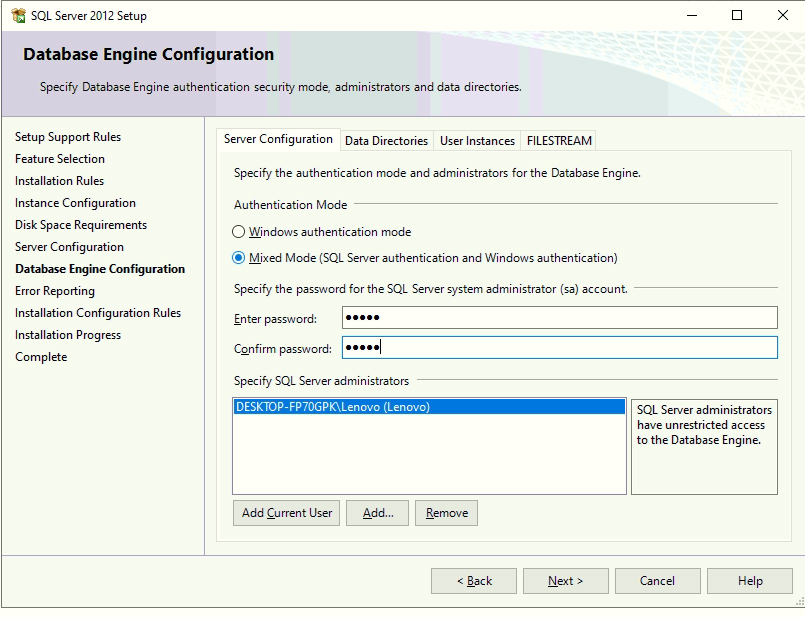
Now the next step is ‘Database Engine Configuration’.It will ask about the ‘Authentication Mode’ Where you have to select the Mixed Mode.And Enter the Password of your SQL SERVER and confirm the password by entering it once again.And click on Next.
Step 9:
-
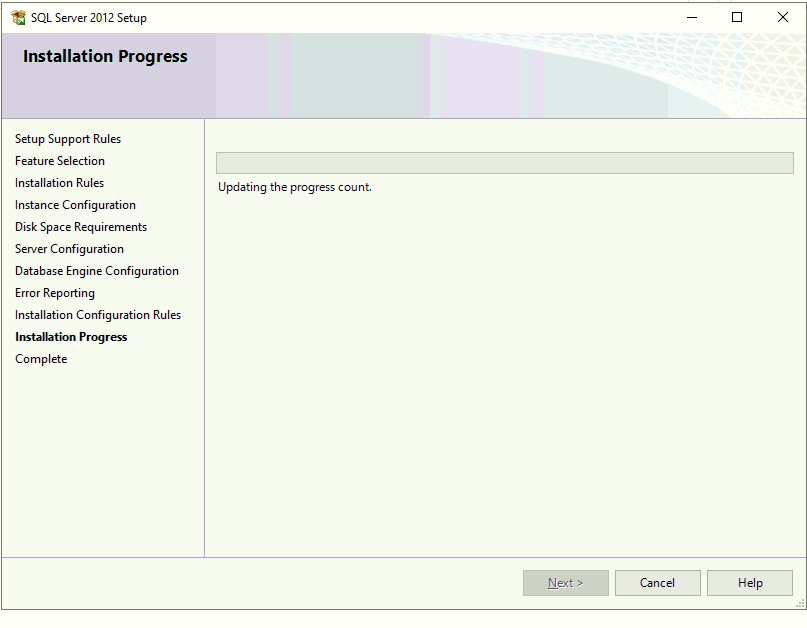
Now Finally it will start the installation process which will take few minutes.Once the installation process is complete, you will receive a pop-up message for the successful installation.
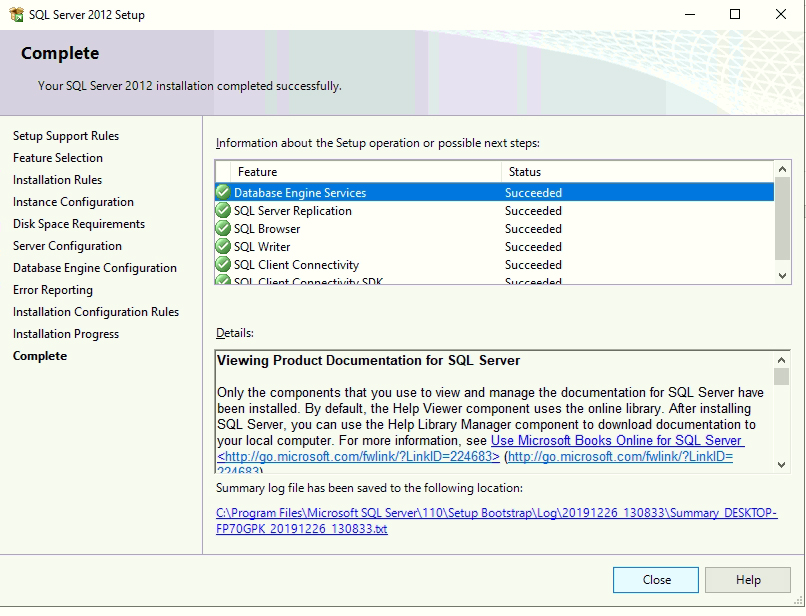
After receiving the message of successful installation, you can close that window
Hurray!! Finally, We have successfully installed the first file of the SQL server. Now we will install the second file of the SQL SERVER.
Now the below steps are for installing 2nd file of server management
Step 1 :
-
Now open the second file ‘SQL Management Studio_x64_ENU.exe’ and extract it.

Step 2 :
-
As we done in the installation of 1st file similarly select the first option ‘New SQl Server stand-alone installation or add features to an existing installation’.
Step 3 :
-
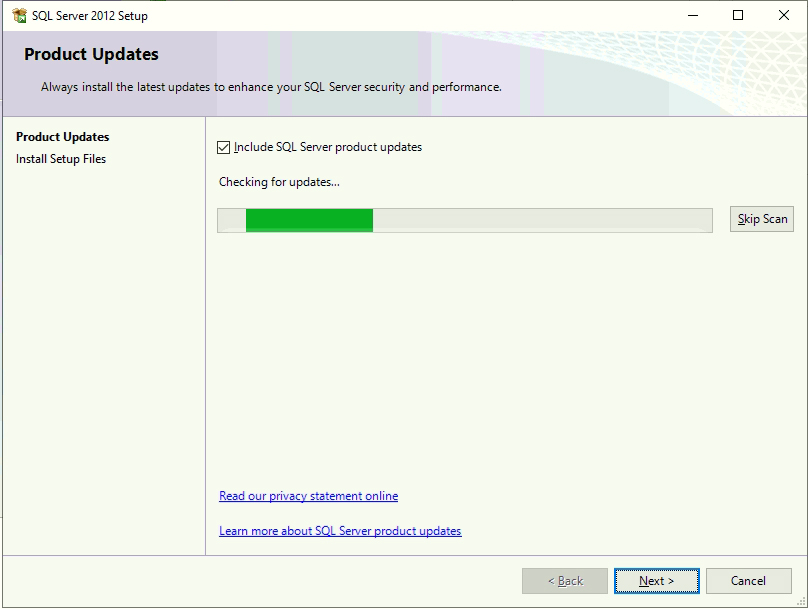
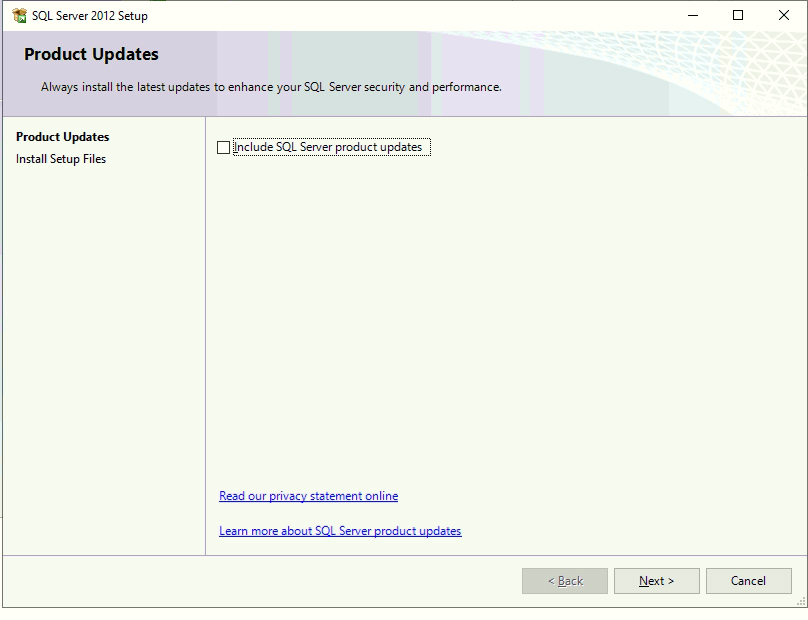
After that it will automatic start for checking updates but we have to turn it off and click on ‘next’
Step 4 :
-
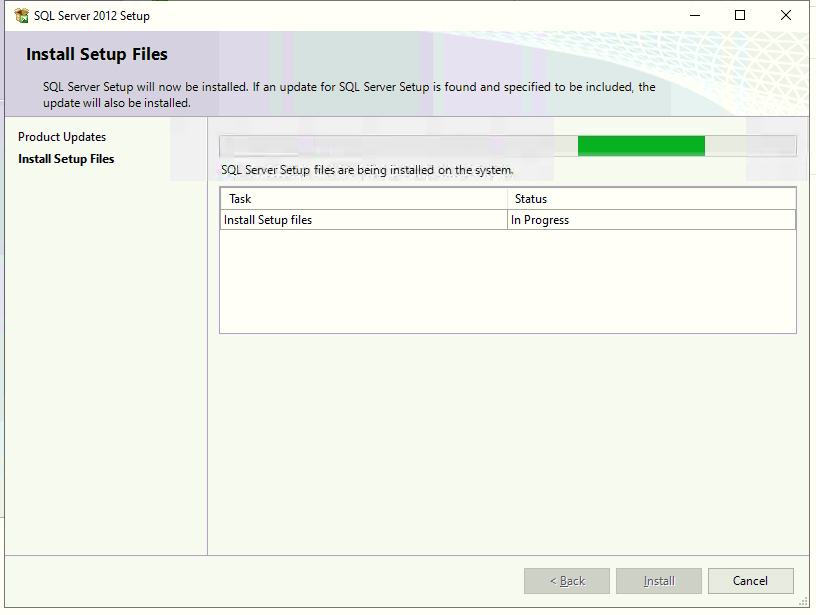
In the very next step it will automatically start the installing process which will took upto 5-10 minutes.
Step 5 :
-
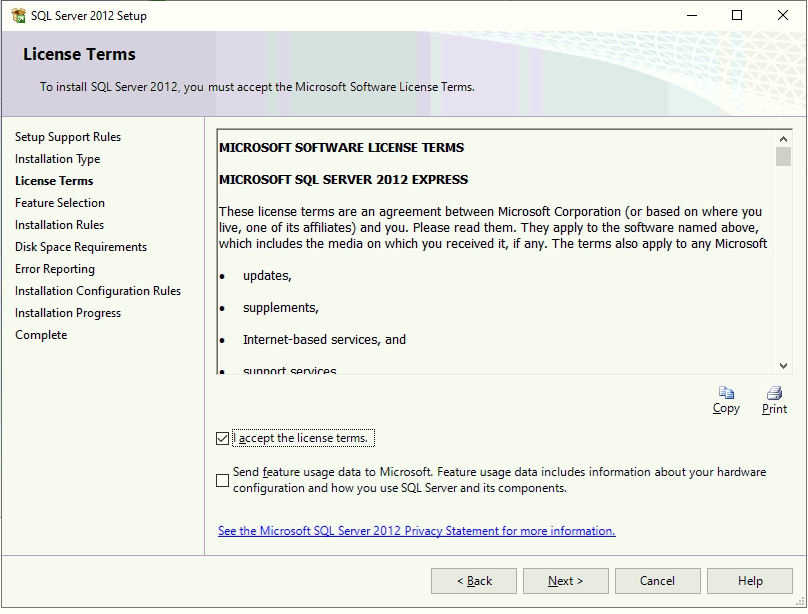
Now Accept the license terms and click on Next.
Step 6 :
-
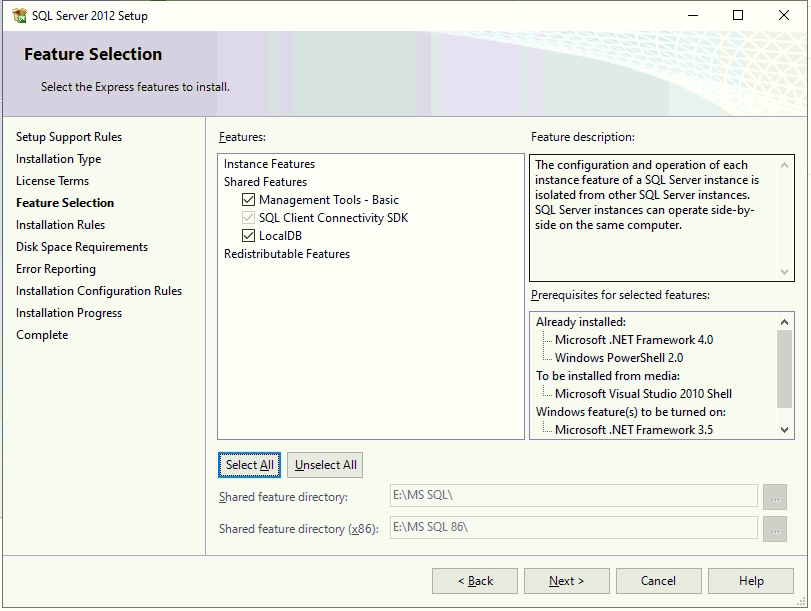
Again go to the Feature Selection in which you have to click on select all.If you want to change the storage path then you can, here i am using E drive in my desktop.Now select Next.
Step 7 :
-
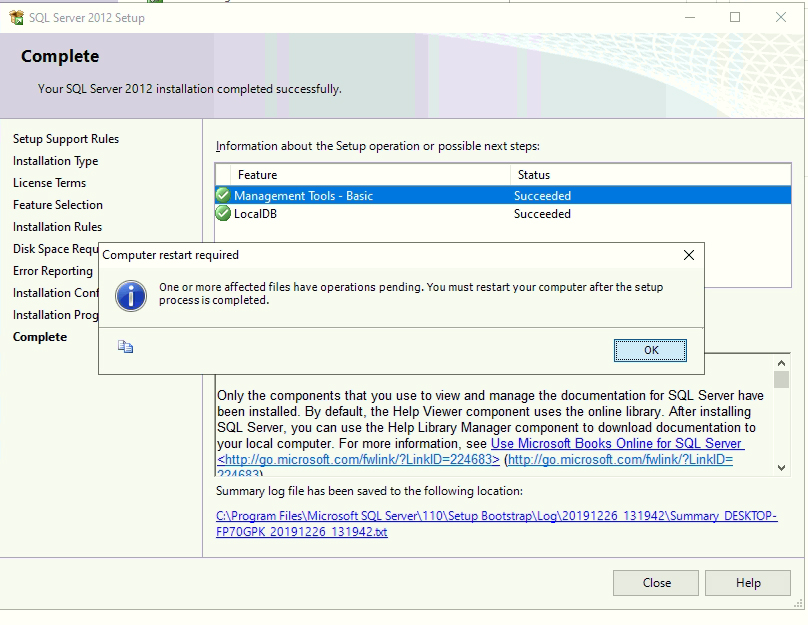
Now the next step is Error Reporting in which there is a one option Send Windows…. which we have to deselect and click Next.Installation process is done after this.
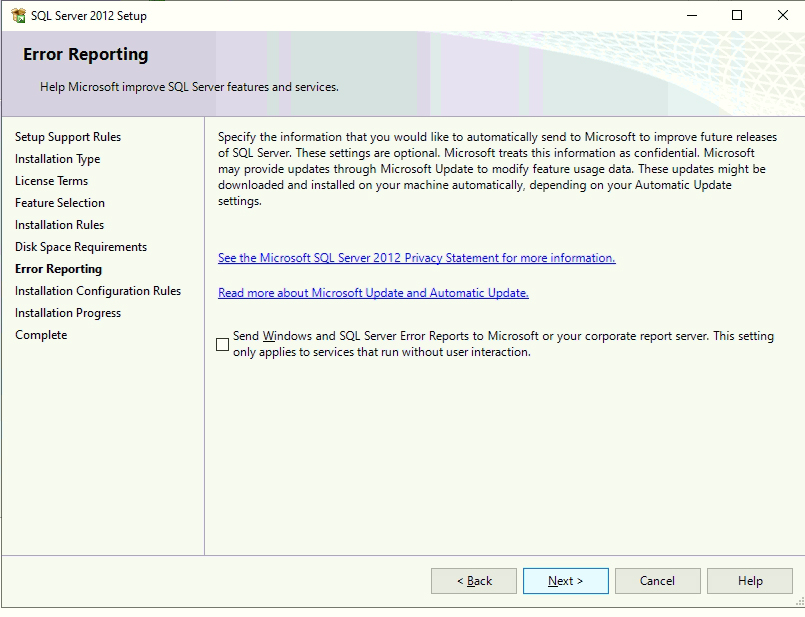
Close that window and restart your desktop.
What happens?? Have you lost your data from SQL Server Database & you have your data backup in system then you can again restore it in the SQL server!
How to Restore SQL SERVER DATABASE.