This article explains how to add a watermark to printed files in ecount ERP.
📋 Overview
A watermark is a semi‑transparent text that appears on each printed page. ecount allows you to set a custom watermark directly from the Print Settings.
🔧 Steps / How-to
- Open the print file you wish to print.
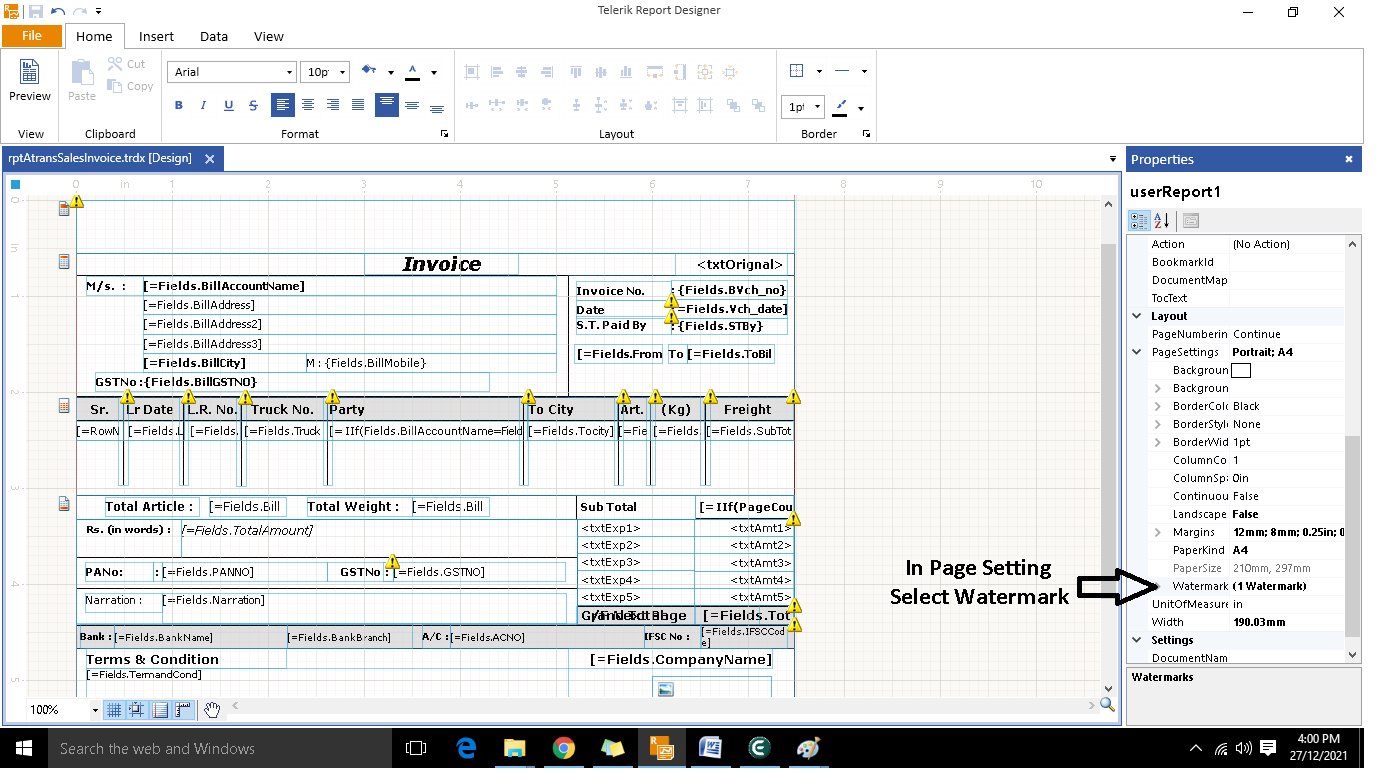
- At the bottom right of the page, click Page Setting and select Watermark.
- In the Watermark dialog, click Add.
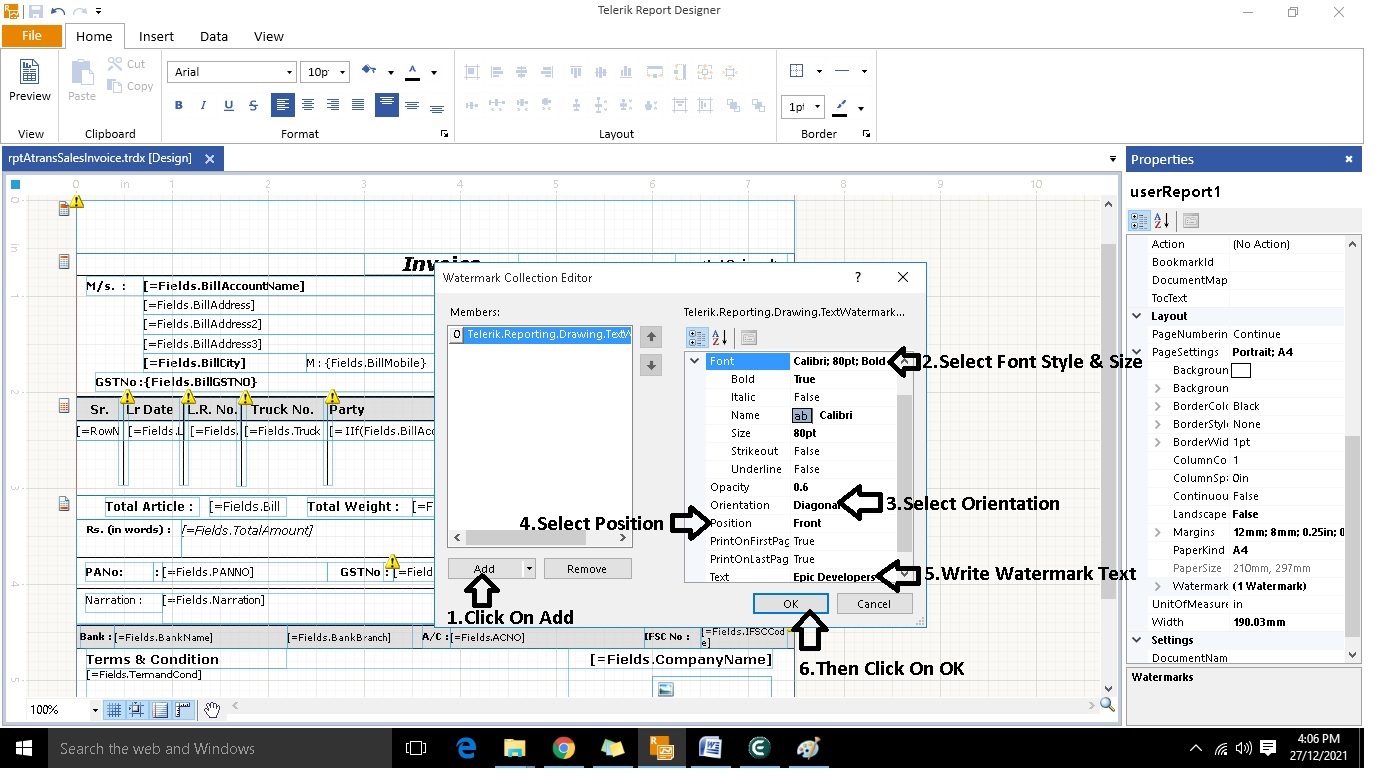
- Set the desired properties – font style, size, orientation, position, and opacity – then type the watermark text.
💡 Tip: Use a lower opacity (e.g., 30%) so the watermark does not obscure the main content.
- Click OK to apply the watermark.
✅ Summary
- Open the print file.
- Go to Page Setting → Watermark.
- Add a new watermark and configure its properties.
- Enter the watermark text and set opacity.
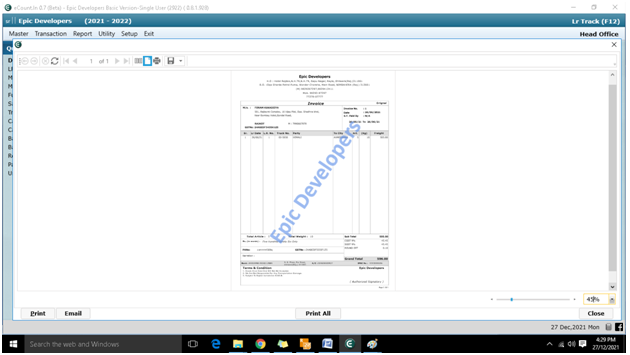
- Confirm with OK to see the watermark on printed pages.