Steps for How to Add Logo and Signature in your Printing Files ??
Step 1 :
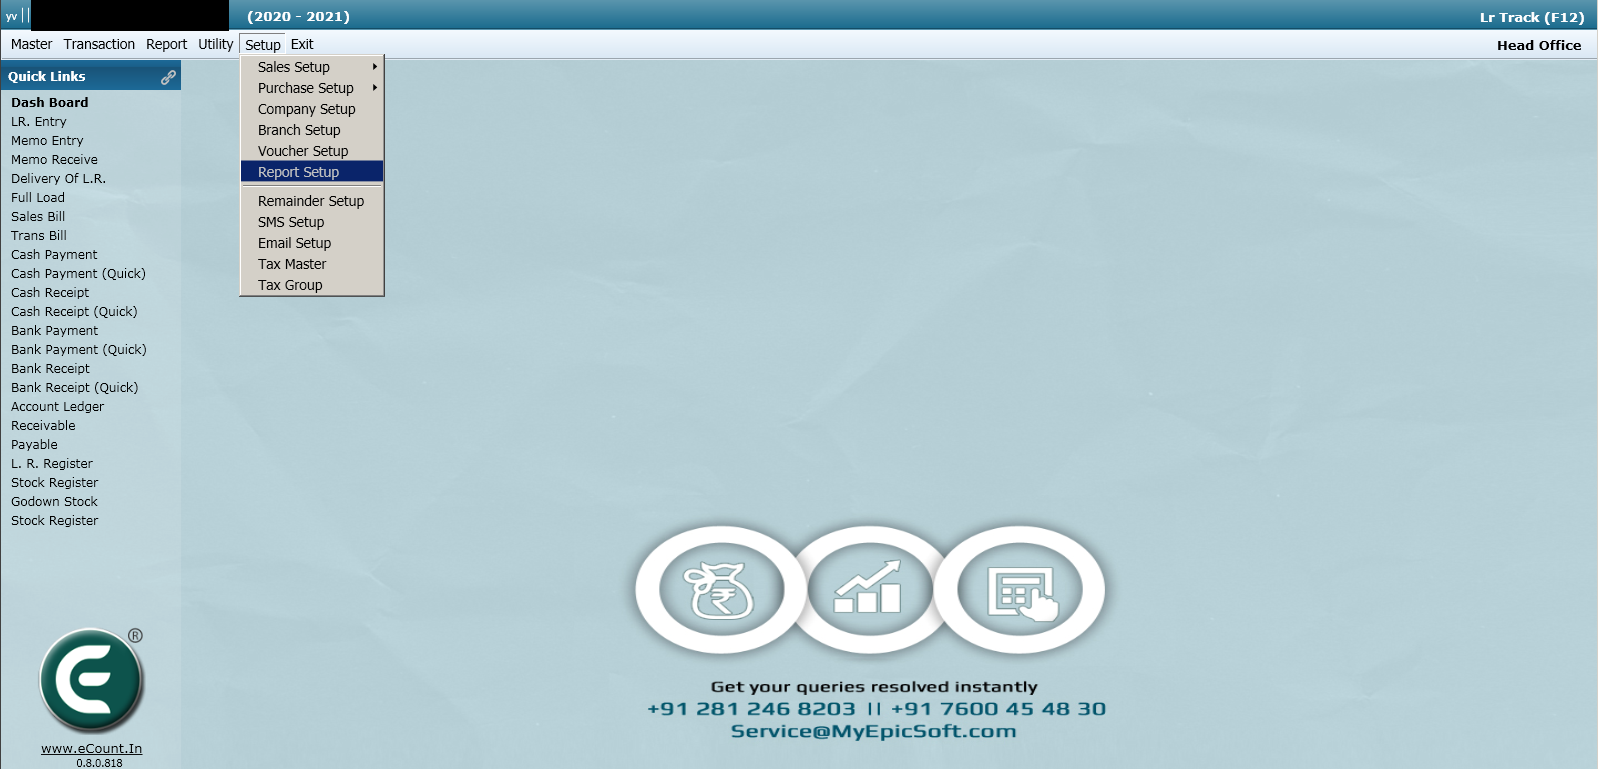
- First of all, Open the Software and Go to Setup –> Report Setup
- Click on it!
Step 2 :
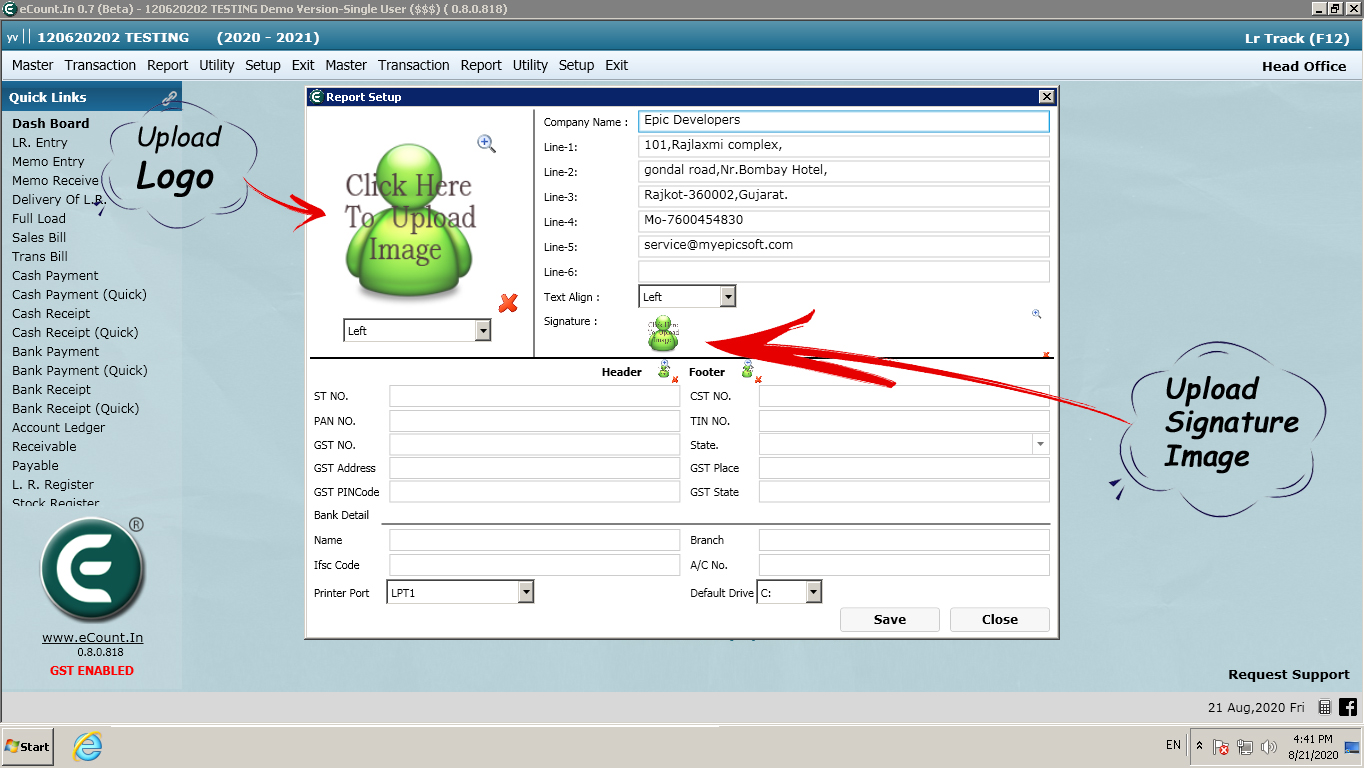
- It will open the pop-up window, You have to Upload your Company Logo and Signature there!
- In the printing files, logo and signature is going to Extract from Company Details only!
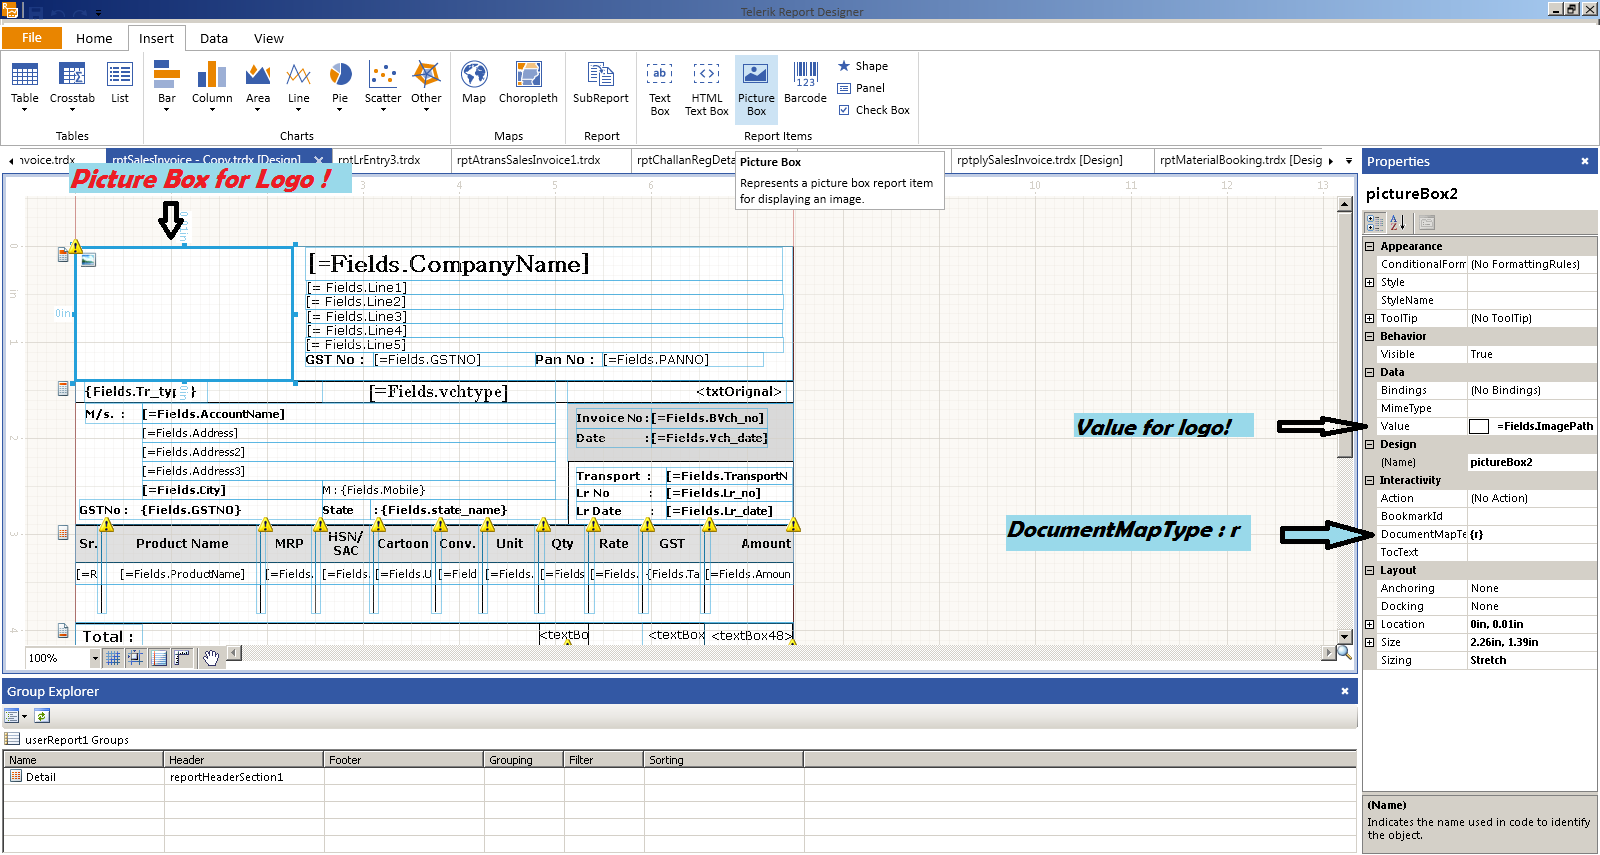
Step 3 :
- Now, Open the Print File, In Header Section you have to place on Image Box!
- Now, In the Value You have to write Fields.ImagePath
- You have to write as it is given so Copy and Paste it there!
- And Important thing you have to write r in “DocumentMapType”, Then only it will take the image!